Create Customized Headers for Reports
NDS Professional allows you to create customized headers for your report.
To create and customize headers for your report, please follow the steps below.
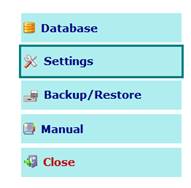
Through the Settings button on the main screen, you can access the specific screen containing a series of tabs, then click Report tab in order to open the Report Settings.
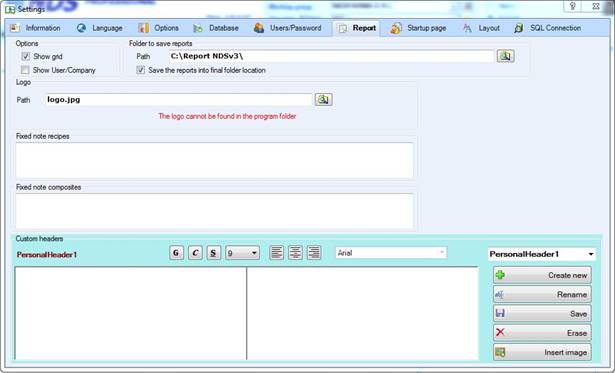
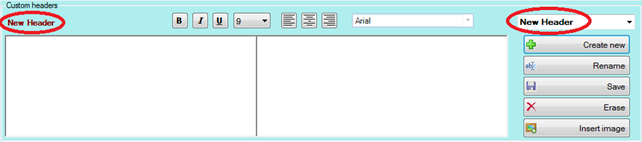
At the bottom part of the screen, there is the new Custom Headers section that has all the functionalities to create and edit your custom headers.
You have two ways to proceed to create a customized header:
1. Editing an existing header – When you open the Report Settings, you can select one of the existing headers and edit it.
For example: in the previous
screenshot, the selected header is “PersonalHeader1” (that is the default
personal header available the first time you open this screen).
You can add
and customize text in the editor and then click Save in order to change
the header “PersonalHeader1”. After that, you can use it in your report. You can
also Rename it (see Interface and Properties for more detail).
2. Create a new header – When you open the Report Settings, you can click on the Create New button to create a new header. It will appear a form where you can insert the name of the header (a default name is created automatically).
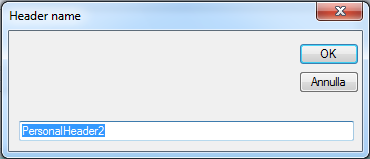
When you confirm the name, you will see that the screen will change. Select the new header and you can start to edit it.
Example: if I create a new header with name “New Header” and click “Ok” this will be the screen: