
The combo on the right side of the screen shows all the personal headers created (for example, “New Header”, the new one created in the example before, and “PersonalHeader1”, the default one created when you open the report settings).
When you need to change header to edit another one, you need to click on the combo and select the header you want to edit. After the selection, the content of your header will be displayed in the two sections.
[Note: if you don’t want to lose data, please save before changing the selection.]
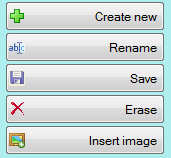
The Create New button allows you to create a new header (see previous section for details).
The Rename button allows you to change the name of the selected header.
The Save button saves the changes of the selected header.
The Erase button deletes the selected header.
The Insert Image button allows you to select any kind of image to include in the header. Please note that the image will be displayed in the editor, so you should put your cursor where you want the image and then click on the button to insert it.
Over the editor you will find the buttons that allows you to edit the selected text properties (Bold, italic, underline, font size, text align and font family properties).

Please note that – except for the Font– all the properties apply only to the selected text.
So if I create some text in the two sections of the editor, and change some properties, I can have a header like the following:
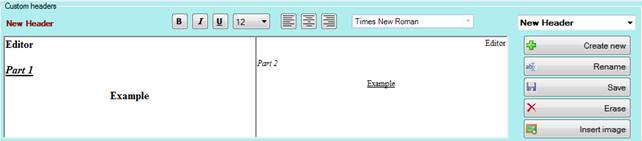
Note that every word has a different style. You can edit the style of every word or text desired by selecting it with the mouse (you need to highlight the text) and then click on the style buttons.
When you save, your header is ready to be used in the report.
The editor has two sections and you can personalize the left and right part of the header.
After the saving, the custom header
will form a unique section header that will be printed in the report.