In each tab (as displayed in the screenshot), you can see:
- Enable
automatic upload costs (only for costs): this option, if checked,
will enable the automatic synchronization of the cost user lists with the
Cst_ files in the selected folder. This
will automatically update the files whenever the “NDS administrator” changes
them in the costs form.
If this option is not checked, the synchronization
will be only manual (check the Manual Upload section below). Please note
that the automatic upload option is available only for costs. Ingredients and Composites are only
updated manually.
- File
path: here you need to select the
default path where the export files will be stored.
Please note that when
you select this path, all the selected lists for the export will be associated
with this path by default, but you can select a different route for each list,
in order to have different lists exported in different folders. To do this, you
will have to right-click on the list you want to export on a different folder.
The list must be checked in order to allow you to change the path.
- User lists: here you can see all the user lists. You can choose here which user list will be automatically synchronized among the user lists already containing feeds. Please note that only the selected user lists will be processed. You cannot select user lists with no feeds included.
You can set up different routes for each list by right-clicking on a selected list: this will open the folder selector where you can choose a path that is different from the default file path.
The Save all button will save the settings and will create the files for the user lists selected for each section (costs, ingredients and composites). Since this process will also generate the file in the chosen folders, the process can take some minutes.
When the upload is done, it is no longer necessary for the administrator to export and send the cost user lists files (Cst_ files), such as e-mail, because external users can keep their lists automatically synchronized through a shared cloud or network folder.
Manual upload
When the
Upload Options are configured to export at least one lists for costs,
ingredients or composites, the Manual Upload process will be enabled.
To manually upload
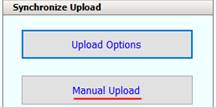
files, you will have to click on Manual Upload button in the Synchronize Upload box
(under Import/Export section à Synchronize Items). This will show
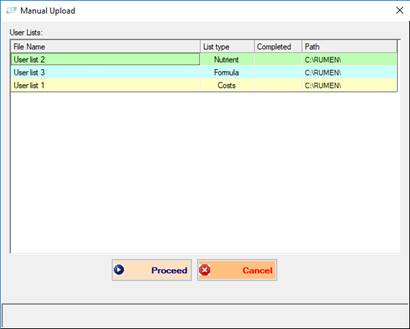
which files will be uploaded to the selected folder.

Opening the Upload box will show which files will be uploaded. Click on “Proceed” to start the process:
