If you already installed NDS on your new computer, please proceed to Step 9
Step 2: Register on RUMEN website
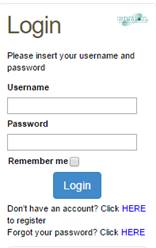
If you are not registered on our website www.rumen.it, proceed with the registration. If you are, log into the website and go to Step 3.
Just fill in all your information. Do not forget to write down your password somewhere safe, you will need it to enter your reserved area! Please, make sure to specify English as default Language.
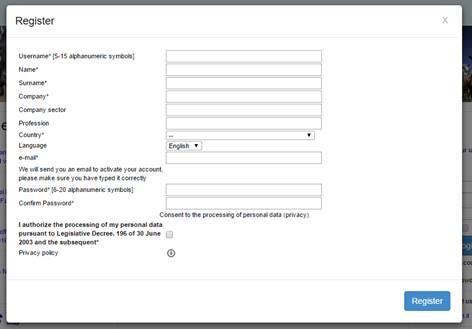
Follow the instructions you will receive by e-mail to complete registration. You will receive an e-mail asking you to click on a link to activate your account.
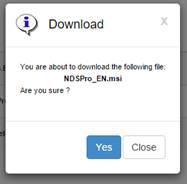
Step 3: Access Reserved Area and Start download
Once registered and logged into the website, you will be able to access the Reserved Area and proceed with the download of the software on your new computer. To do so, click on the tab “download” of NDS professional.

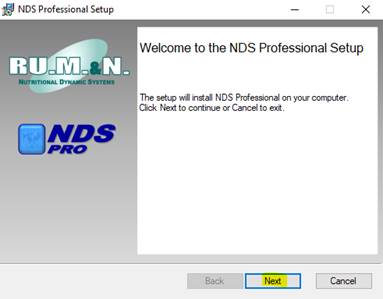
Step 4: Start Installation of NDS
On the first setup dialog, click ‘Next’.
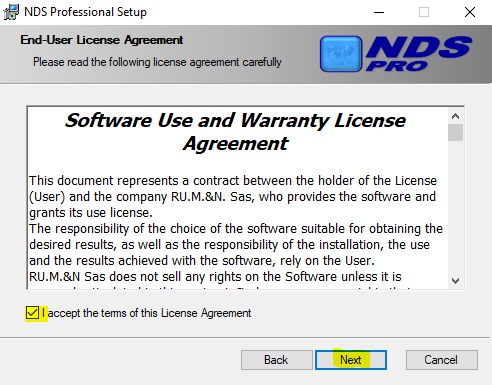
Step 5: You now need to Read and Accept the terms in the license agreement and click Next.
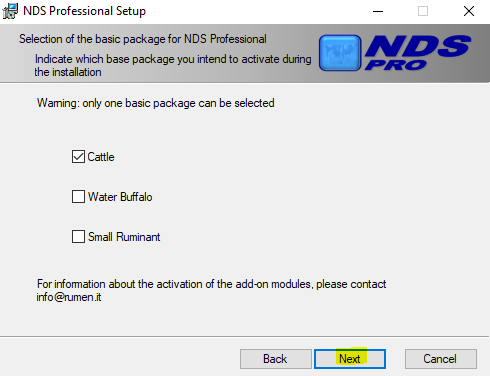
Click Next to proceed.
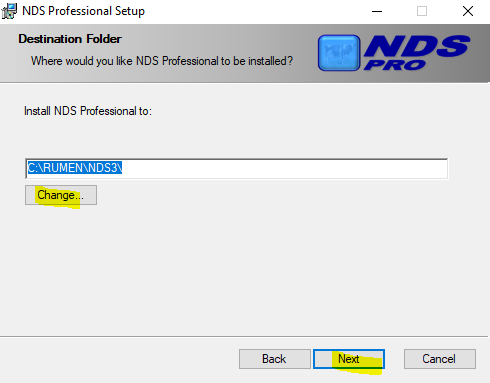
Step 7: Select where you would like NDS to be installed. Your main drive (usually C: drive) will be selected as default. You can change it with the “Change…” button.
Click Next.
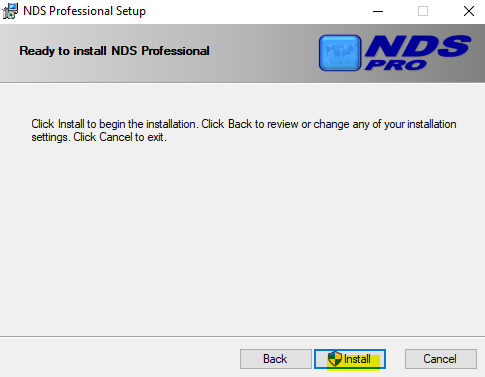
Step 8: Click on “Install” to proceed. You will need Admin rights to complete the process. In case you are not logged in with an administrator account, the Setup may ask for administrator account credentials.
When the installation is completed, click on Finish.
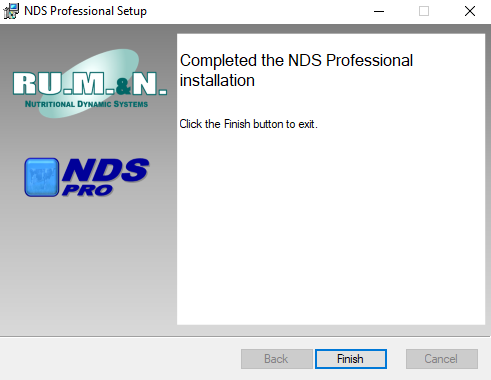
After the installation, the program will automatically start.
Step 9: Send Installation ID
NDS Professional can be used under license and for its activation a registration is required.
To register your copy of NDS, please follow the steps below. You will also receive an automatic e-mail with these instructions once the installation of NDS will be completed.
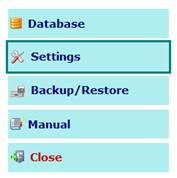
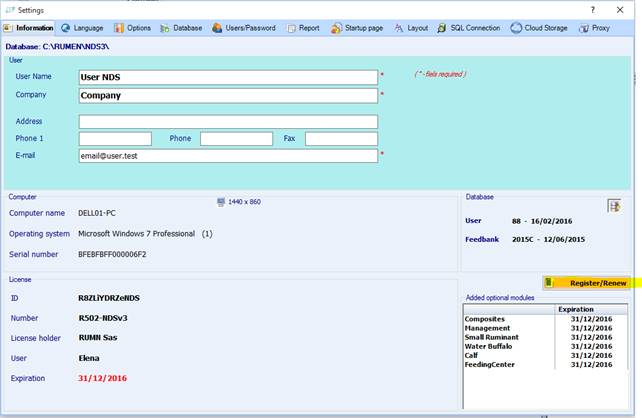
Through the Settings button on the main screen, you can access the specific screen containing a series of tabs, then click Register/Renew button in order to open RUMeN Tools.
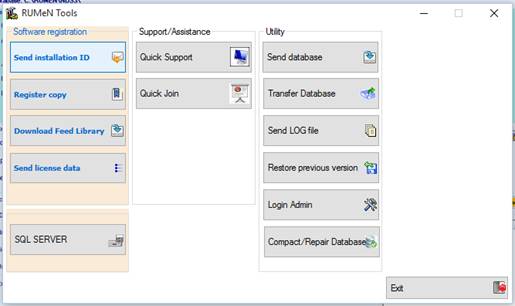
Once RUMeN Tools form is open, click Send installation ID button.
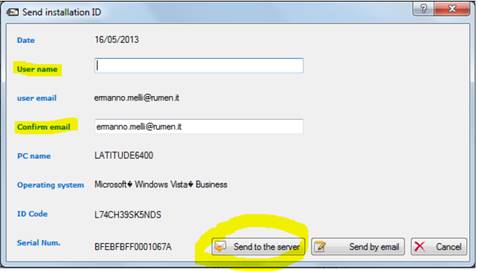
Now, the registration data must be sent to the RUMEN Registration Center and you can do this in two alternative ways:
1. Automatically using the RUM&N server - Through the Send to the server button your installation ID will be sent to the RUM&N server and the Registration Center gets it automatically. Please note the computer must to be connected to Internet. At the end of the process the screen below will appear.
This is the procedure that we recommend.
2. Manually sending an email – If, for some reason, the automatic procedure does not work, you can send the registration data via email.
Through the Send by email button your e-mail client will be automatically opened with a proper subject and as an attachment one .txt file including the request information. Please send this email to software@rumen.it.
The RUM&N Registration Center will get your installation ID and, within maximum two business days, will substitute your old ID with the new one and old installation will automatically stop working.
Final registration of your new copy will be automatic.
Step 10: Restore data
Last step is the restore of data from a previous NDS installation.
You can start the Restore process from Rumen Tools. To open Rumen Tools, you can:
− Click on the desktop shortcut “Rumen Tools”
− From NDS, navigate to “Utility” tab and click on “RUMeN Tools” under “Accessories”
o 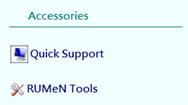
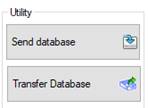
From Rumen Tools, click on “Transfer database” under utility in order to start the wizard for transfer of data.
In order to transfer data, you need to click on “Restore data” from the first screen of the wizard. If the “Show procedure details” option is enabled, you will see a page with details of the transfer process.
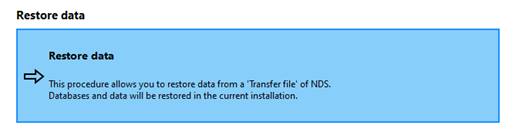
The “Restore data” procedure is required to complete the transfer of data from your old installation of NDS to this current installation.
This procedure allows you to restore data from a ‘Transfer file’ of NDS. Database and data will be restored in the current installation.
Please close NDS before proceeding with the Restore.
1. Select Transfer file to
restore
You need to select the
‘Transfer file’ of NDS in order to proceed with the restore. 
2. Insert file password
Use the password you set on the Transfer procedure to
proceed with the restore.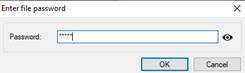
3. Select items to
restore
In addition to the main
database, it is possible to restore external files and secondary databases, if
they are included in the file.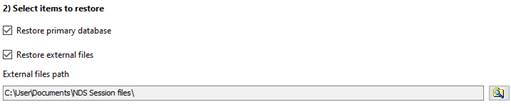
•To restore external files, you need
to select the folder where the files will be restored (default: Documents\NDS
Session files)
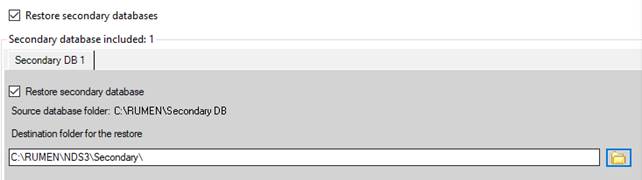
•To restore secondary databases, you
can select which database included in the file you want to restore. For each
selected secondary database, you need to choose a destination folder where it
will be saved.
Important: each
secondary database need to be placed in a unique folder. This folder needs to be
different from the program folder and from another secondary database’s folder.
Please make sure you have a unique folder for each database you want to
restore. Otherwise, you can create it during this process.
4. End the procedure
The items you selected will be restored in the current
installation of NDS.
At the end of the Restore
procedure, the items will be restored in the current NDS installation.
Restarting NDS will show the data restored.
Please note that if you choose to
restore the primary database, the Restore will make a copy of the current
database in the Backup folder (located in the program folder).
You can restore this backup should you need it.