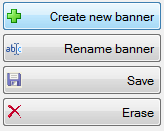
The Create new banner button allows you to create a new banner (see previous section for details).
The Rename banner button allows you to change the name of the selected banner.
The Save button saves the changes of the selected banner.
The Erase button deletes the selected banner. Please note that only custom banners can be deleted; the default banners for each categories will be cleaned but not deleted.
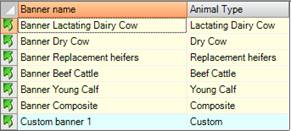
In this grid you will find the banners for all the Animal Type, and all your Custom banners.
To select a banner you can click
on the Arrow button on the left ( ), or
double-click on the name of the banner you want to select for
editing.
), or
double-click on the name of the banner you want to select for
editing.
The name of
the current banner is displayed in the upper part of the Editor
section:
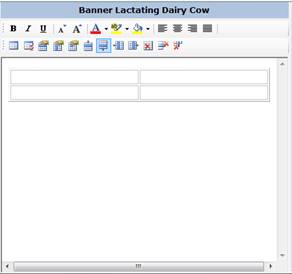
Here you can see the name of the selected banner that you are editing; below you have a text editor with some properties that you can edit.
Note: each banner is created by default with a table of 2 rows and 2 columns; this is because we recommend to use a table to insert parameters. You can edit or delete this table.
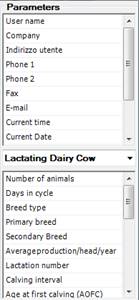
The Parameters section, on the right side of the banner editor, allows you to insert overall and animal type parameters in your banner.
In the upper
section you will find overall parameters; in the bottom section you will find
the parameters of the animal type displayed in the combo box.
You can change
the animal type to display the parameters from different categories, but please
note the report will only
show parameters from the recipe animal type.
To add the parameters in the banner, you have to drag them into your banner.